Quick Start Guide
Build and deploy a Discord bot in four steps, in about 10 minutes.
Create Your Bot
Click "New Bot" in your dashboard. The setup wizard walks you through 3 steps: naming, token verification, and server invite.
Step 1 of 3: Name Your Bot
Name your bot (up to 32 characters, a Discord limit). You can change this later.
Step 2 of 3: Connect Discord
The setup wizard guides you through creating a Discord application, enabling both privileged gateway intents (Server Members and Message Content), and pasting your bot token. The wizard verifies your bot token and Discord permissions automatically.
Step 3 of 3: Invite & Select Server
Invite your bot to a Discord server using the provided link, then click "Find Servers" to select it. The generated invite requests Administrator (permissions=8). Scope it down afterward in Server Settings → Roles once your bot runs.
Note
Add Behaviors
Use the Bot Builder or Templates to add features to your bot.
Option 1: Use the Bot Builder
"Create a welcome message in #general when someone joins"Type what you want in natural language. Use #channel and @role to reference your server. A bot that is already running stays online and answers your members while the builder works; your changes reach them when you press Done. A bot that has not been started yet simply goes live when you finish — building does not start it. And a bot that runs its own code is paused while you build, because only one copy can hold the Discord connection.
Option 2: Use Templates
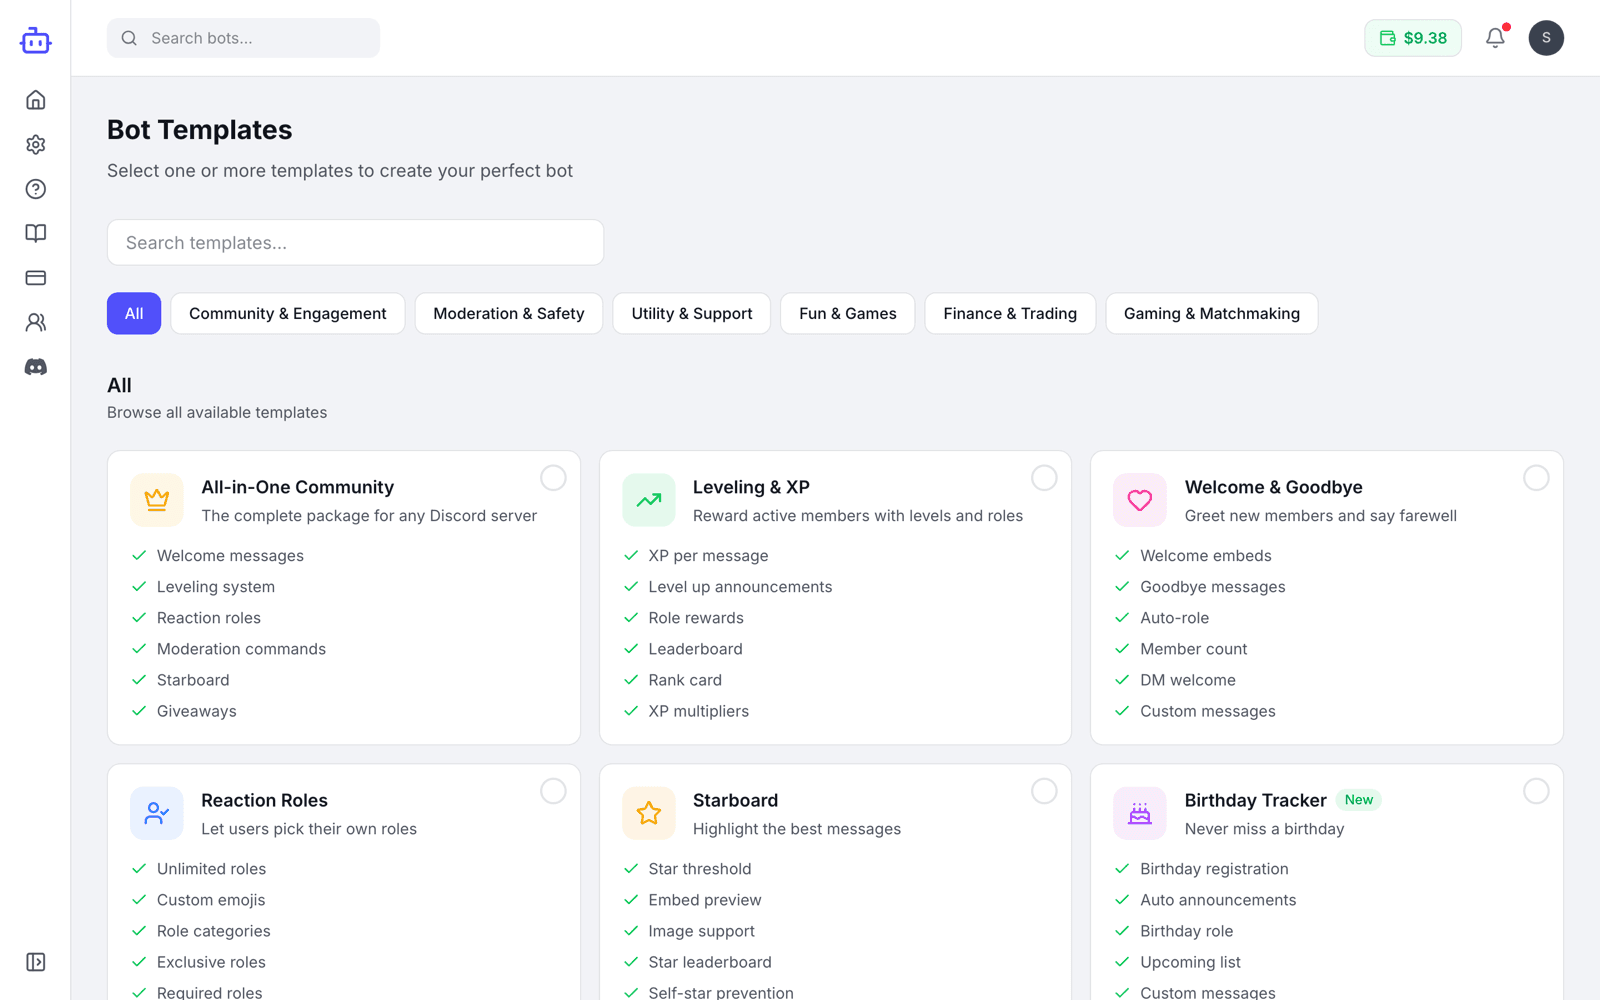
Browse 39 pre-built templates:
- Welcome Bot
- Moderation Bot (kick, ban, warn)
- Reaction Roles
- Auto-responder
- And many more...
Tip
Pro tip
/help command for your Discord users.Put it live
Press Put live to send your bot to cloud hosting. Your bot runs 24/7.
Press "Put live"
Your Discord token is saved from the setup wizard. Press Put live. Your bot starts when the build finishes, usually in under a minute.
Monitor Status
Monitor deployment status live in the dashboard. A deploy can take up to 15 minutes before it times out. Check logs if the deployment fails.
Important
Test Your Bot
Your bot is live. Head to your Discord server and try it out.
Try Your Commands
Go to your Discord server and test the behaviors you created. Try your slash commands, click reactions, or send messages.
Change it and put it live again
Edit features in the builder. Then press Put live to update your bot.
You're All Set
Your Discord bot is now live. To update it, edit its features and press Put live.